DNT ZULUS SETUP

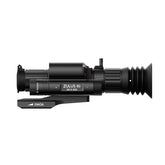
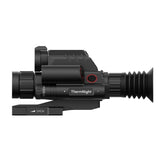
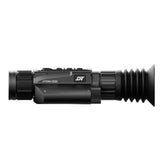
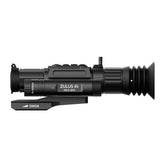
The ZULUS 5-20x comes with a cantilever optic mount. However it is a little counter-intuitive to set it up. Due to the small size of the ZULUS this helps save space and weight but you need to position the ZULUS closer to your eye to get the proper eye relief. The eye relief for the ZULUS is a little short. So to comfortably see the sight picture you need to position the mount so the ZULUS reaches back to your eye. Underneath the ZULUS are four screw holes. Mount the ZULUS to the mount using the provided screws. The ZULUS comes with four screws but you can shift the position along the mount forwards or backwards for better eye relief and use as few as two screws. It is best to use as many screws as possible.

Once you have the position of the ZULUS where you like it, torque the screws under the ZULUS to 30 in-lbs. Tighten the rail mount screws to 30 in-lbs. Next up you need to charge the 18650 Li-Ion battery. You can use the USB-C cable that came with the ZULUS and plug it into a USB power adapter like you use to charge your mobile phone. Unscrew the SD card / USB cap. It is a bit tight to help keep out water. Underneath is the USB-C port. Plug the charging cable into the ZULUS and plug the other end into your USB charger of choice, make sure the battery is installed in the battery compartment of the ZULUS. If you have a stand-alone li-ion battery charger, like the ones used to charge flashlight batteries, then you can use that to charge up the ZULUS battery. Remove the battery from the ZULUS battery compartment and charge it in your battery charger of choice. Once fully charged reinstall the battery and now you can turn on the ZULUS.


